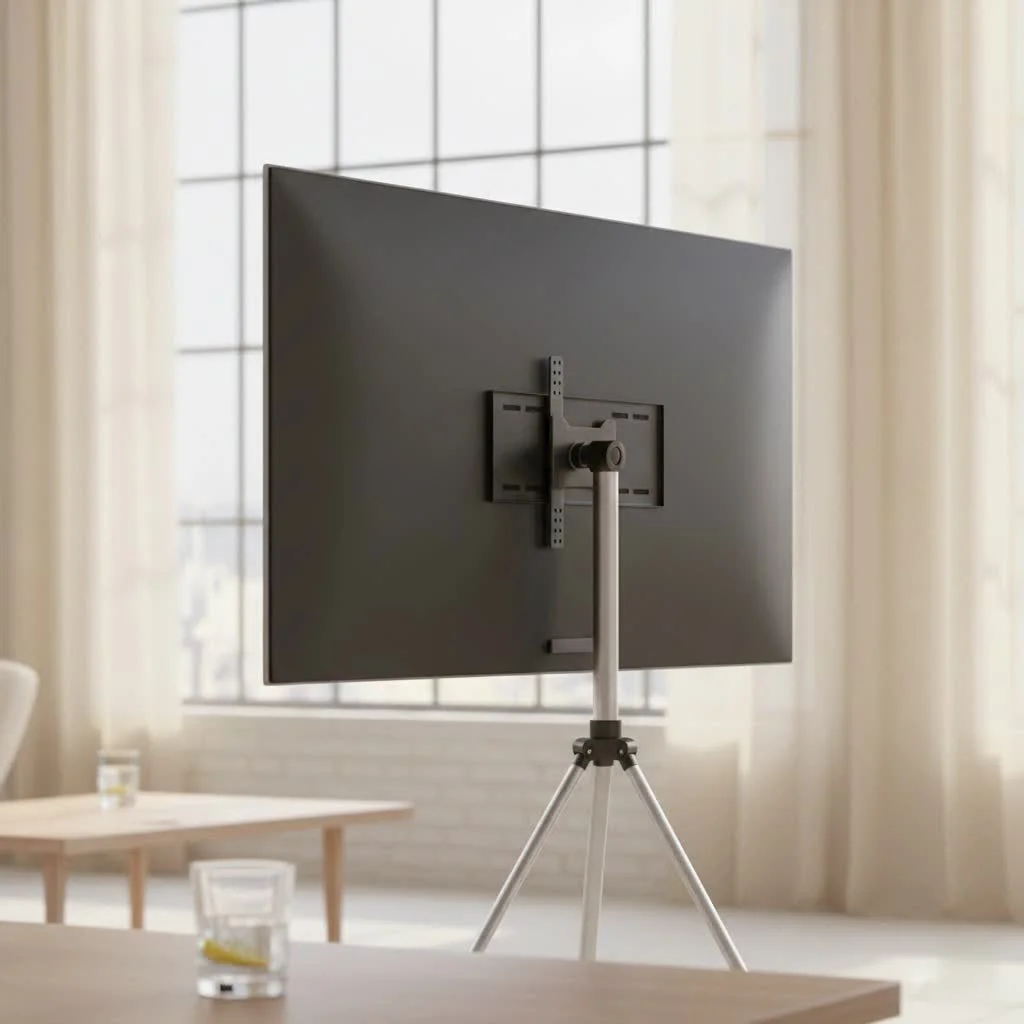
A backdrop tripod stand is a support system designed to hold various types of backdrops steadily and securely, essential for professional photographers to achieve flawless, seamless backgrounds. These stands typically include two upright supports with collapsible tripod legs and a horizontal crossbar, allowing creators to eliminate distracting backgrounds and focus on their subject in both studio and dynamic locations.
What Exactly is a Backdrop Tripod Stand?
At its core, a backdrop tripod stand is a support system designed to hold various types of backdrops steadily and securely. Think of it as the skeletal structure that gives your creative canvas — be it fabric, paper, or vinyl — its form. Typically, a complete kit includes two upright support stands, often featuring collapsible tripod legs for stability, and a horizontal crossbar that connects them. Accessories like clamps and sandbags complete the package, ensuring everything stays perfectly in place during your shoot. This simple yet ingenious setup allows you to create controlled environments, eliminate distracting backgrounds, and focus entirely on your subject, whether in a bustling studio or out on a dynamic location.
Unpacking the Options: Types of Backdrop Tripod Stands
Just like cameras, backdrop tripod stands come in various forms, each tailored for specific needs and scenarios. Choosing the right one depends heavily on your shooting style, the types of backdrops you use, and your portability requirements.
The Agile & Portable: Pop-Up Collapsible Stands
If you’re constantly on the move, a pop-up collapsible stand is your best friend. These stands are incredibly lightweight and compact, typically featuring a single light stand tripod with a clamp at the top. They’re designed to mount collapsible backdrops, often measuring around 1.5m x 2.1m, making them ideal for solo subjects and quick setups on location. They’re a breeze to set up and break down, making them perfect for photographers who need to be agile.
The Versatile ‘T’ Shape: T-Stands
Taking portability to the next level, the T-stand consists of a single light stand paired with a crossbar that forms a distinctive ‘T’ shape. These lightweight, portable stands are excellent for supporting smaller paper sheets, light cotton muslins, or diffuser sheets. They usually come with a carrying bag, and their simple, three-part crossbar design makes them quick to assemble for both studio and on-location work.
Stepping Up: Standard-Duty (4KG) Stands
For those needing a bit more muscle, a standard-duty backdrop stand, often rated for a 4KG load, is an excellent upgrade. These systems typically feature two tripod legs, one on each side, connected by a crossbar composed of four segments. They can comfortably hold cotton muslins or half-length paper rolls. While still quite portable, their increased stability makes them suitable for a wider range of backdrops in both studio and field environments, especially when augmented with sandbags.
Heavy Lifters: Heavy-Duty (8KG) Stands
|
Our Picks for the Best Tripod Stand in 2026
As an Amazon Associate I earn from qualifying purchases.
|
||
| Num | Product | Action |
|---|---|---|
| 1 | Amazon Basics 50-inch Lightweight Portable Camera Tripod Stand with Quick-Release Plate, Adjustable Height, Aluminum, for Travel Photography, Champagne |

|
| 2 | EUCOS 62\" Phone Tripod, Tripod for iPhone & Selfie Stick with Remote, Extendable Cell Phone Stand & Ultimate Phone Holder, Solidest Phone Stand Compatible with iPhone/Android |
|
| 3 | TONEOF 68\" Magnetic Selfie Stick Tripod with Aluminum Strong Magnetic Holder for Magsafe, 360° Rotatable Travel Phone Tripod Stand with Metal Ring & Rechargeable Remote for iPhone/Android(Beige Gray) |
|
| 4 | Projector Stand Tripod Adjustable, Laptop Height from 23.5 to 46.5 inches with Gooseneck Phone Holder, Floor for Office, Home, Stage, Studio, DJ Racks Holder Mount, 23.5inch-46.5inch |
|
| 5 | SENSYNE 62\" Phone Tripod & Selfie Stick, Extendable Cell Phone Tripod Stand with Wireless Remote and Phone Holder, Compatible with iPhone Android Phone, Camera |
|
| 6 | 71” Phone Tripod & Selfie Stick, Portable All in One Extendable Cell Phone Tripod Stand, with Wireless Remote Control for iPhone/Samsung/Android/Camera |
|
| 7 | 64” Tripod for Cell Phone & Camera, Phone Tripod with Remote and Phone Holder, Sturdy & Stable Height Adjustable Multi-Angle Shot Selfie Stick Tripod for Video Recording |
|
| 8 | CAMBOFOTO 74\"-Camera-Tripod, Professional Aluminum Tripod/Leg Stand Mirrorless Camera/DSLR/Cell Phone/Camcorder/GoPro, with Phone Holder and Travel Bag (Gunmetal Gray) Weight 2.8 lbs Load 8.8 lbs |
|
| 9 | Laptop Tripod Stand – Adjustable Laptop Holder with Phone Mount - Heavy- Duty Alloy Tripod Stand with Tray - Height Adjustable 0.65–1.6m - Portable, Foldable, 15kg Load Capacity - Black |
|
| 10 | IFOOTAGE RB-A400 Round Base Light Stand Monopod, 79\" Tripod Monopod for Cameras, Lights, Webcam, Live Streaming, Vlogging, Payload 22LBS |
|
When your backdrops get serious, your stand needs to follow suit. Heavy-duty backdrop stands, like those rated for an 8KG load, are designed to handle full-length paper rolls, which can weigh up to six kilograms. These robust stands are the go-to for permanent studio setups but are still transportable, albeit a bit heavier. They accommodate cotton muslin, vinyl, and other backdrop types with ease, providing reliable support for your most demanding shoots.
The Professional’s Choice: Double C-Stands
For ultimate stability and load capacity, many professionals turn to a double C-stand setup. This “big daddy” of backdrop support systems can handle an impressive 20KG. It utilizes two C-stands (or heavy-duty lighting stands) with boom arms extended to meet in the middle. These boom arms can be inserted directly into the hollow tubes of paper backdrop rolls, providing exceptional security. It’s a fantastic option if you already own C-stands, effectively transforming your existing lighting equipment into a formidable backdrop support.
Expanding Horizons: Telescopic Background Stands
Gaining popularity for their adaptability, telescopic background stands often feature two crossbars (top and bottom) and side legs, creating a square or rectangular frame. The beauty of these stands lies in their adjustable crossbar lengths, allowing you to customize the size of your backdrop setup. They’re a versatile choice for trade show displays, photography exhibitions, and for supporting a variety of backdrops, from paper to cotton muslins.
Setting Up Your Backdrop Tripod Stand: A Step-by-Step Guide
Setting up your backdrop tripod stand doesn’t have to be a daunting task. With a little practice, you’ll have your studio or location ready in minutes. Let’s walk through the general process:
Step 1: Unpack and Organize
First things first, lay out all your components from the carry bag on a clean, flat surface. You’ll typically find two upright stands, several crossbar sections, and sometimes clamps or other accessories. Taking a moment to organize everything will make the assembly process much smoother.
Step 2: Assemble the Upright Supports
Start with your first upright stand. Locate the wingnut at the top of the legs and loosen it. Gently push the legs out slightly, then raise the center column of the stand. As you raise the center column, push the stand legs down firmly to ensure they open fully and create a wide, stable base. A wider leg spread means greater stability, so don’t be shy about spreading them out! Once the legs are in position, tighten the wingnut to secure them. Repeat this process for the second upright stand, ensuring both are set to approximately the same height. If your stand has multiple wingnuts on the center column, loosen and tighten them to achieve your desired vertical extension.
Step 3: Connect the Crossbars
Next, it’s time to assemble your crossbar. Most crossbars come in multiple sections that snap or slide together. Look for alignment markers, pins, or indentations that ensure the pieces lock securely. Depending on the width of your backdrop, you might not need to use all the crossbar sections; two or three pieces can be sufficient for smaller backdrops. Once assembled, unscrew the wingnuts located on the metal rods at the very top of each upright stand. Line up the assembled horizontal crossbar with these rods, lower it into place, and then re-tighten the wingnuts to firmly secure the crossbar to both upright stands.
Step 4: Mount Your Backdrop
With the stand fully assembled, it’s time for the backdrop. If your backdrop has a sewn-in rod pocket, simply slide the crossbar through it. For backdrops without a rod pocket, such as vinyl, canvas, or poly paper, you’ll need to use clamps to attach them securely to the crossbar. Carefully raise the entire setup to your desired height, adjusting each side incrementally to keep it even, and you’re ready to shoot!
Pro Tip for Stability: Sandbags!
“Many photographers overlook the simple power of sandbags,” advises Alexandra Chen, a renowned studio manager and long-time colleague at SxJks. “Especially with lighter stands or when using heavier backdrops like full paper rolls, sandbags are non-negotiable. They provide the crucial counterweight needed to prevent accidental tipping and keep your setup secure, safeguarding both your gear and your subjects.” Always place sandbags on the legs of your stand to provide extra stability. This simple addition can prevent costly accidents and ensure a safer, more professional shooting environment.
Choosing Your Perfect Backdrop Tripod Stand: Key Considerations
Selecting the right backdrop tripod stand is a decision that impacts your workflow and the quality of your output. Here’s what to :
- Type and Weight of Backdrop Material: This is paramount. Lightweight fabric or vinyl backdrops require less robust stands, whereas heavy seamless paper rolls demand heavy-duty systems or C-stands for adequate support.
- Shooting Location: Will you primarily be in a dedicated studio, or will you frequently take your setup on location? Portable, lightweight stands are great for events and outdoor shoots, while heavier, more durable systems might be better suited for a permanent studio.
- Portability vs. Durability: Often, there’s a trade-off. Highly portable stands tend to be lighter and potentially less durable over time, while ultra-durable options like autopole systems or heavy C-stands can be cumbersome to transport.
- Budget: Backdrop stands are available at various price points. Define your budget, but that investing in a sturdy, reliable stand can save you money and headaches in the long run.
Frequently Asked Questions (FAQs)
Q1: How much weight can a backdrop stand hold?
The weight capacity varies significantly by type. Lightweight stands might hold only a few pounds (e.g., 4KG for standard duty), while heavy-duty setups like double C-stands can support up to 20KG. Always check the manufacturer’s specifications.
Q2: Can I use any tripod for a backdrop stand?
While some basic, small backdrops might be temporarily rigged to a camera tripod, it’s generally not recommended. Dedicated backdrop stands are designed with wider bases, specific attachment points for crossbars, and higher load capacities to safely support backdrops.
Q3: What are sandbags for?
Sandbags are crucial for adding stability to your backdrop stand. They act as counterweights, preventing the stand from tipping over, especially when holding heavier backdrops, extending to maximum height, or shooting in windy conditions outdoors.
Q4: How wide can backdrop stands go?
The width of backdrop stands is usually adjustable using segmented crossbars. Many standard kits offer widths from 5 feet up to 10 feet or more, allowing flexibility for different backdrop sizes.
Q5: Are more expensive stands always better?
Not necessarily, but quality often correlates with durability and stability. More expensive heavy-duty or autopole systems are generally more robust and last longer, especially if you’re using heavy backdrops regularly. However, a well-chosen budget-friendly stand can still be effective for lightweight backdrops and occasional use.
improve your Vision with the Right Backdrop Tripod Stand
A backdrop tripod stand is more than just a piece of equipment; it’s a foundation for creativity, allowing you to craft the perfect setting for your photos and videos. From nimble pop-up stands for on-the-go shoots to robust C-stand setups for demanding studio work, there’s a solution for every need. By understanding the different types, knowing how to set them up safely, and considering the key factors for selection, you’re empowered to make informed decisions that will significantly enhance your visual projects.
At SxJks, we believe in empowering creators with knowledge and confidence. So, take these insights, choose your backdrop tripod stand wisely, and watch your images and videos transform from good to absolutely stunning. We’d love to hear about your experiences and see the incredible setups you create – share your journey with us!
Frequently Asked Questions
How much weight can a backdrop stand safely hold?
The weight capacity of a backdrop stand varies significantly by type and manufacturer. Lightweight stands typically hold a few pounds (e.g., 4KG for standard duty), while heavy-duty setups like double C-stands can support up to 20KG. Always consult the manufacturer's specifications for precise limits.
Is it possible to use a regular camera tripod for a backdrop?
It is generally not recommended to use a regular camera tripod for a backdrop stand, especially for larger or heavier backdrops. Dedicated backdrop stands feature wider bases, specific crossbar attachment points, and higher load capacities designed for safe and stable backdrop support.
What is the purpose of sandbags with a backdrop stand?
Sandbags are crucial for adding stability to your backdrop stand by acting as counterweights. They prevent the stand from tipping over, which is especially important when using heavier backdrops, extending the stand to maximum height, or shooting outdoors in windy conditions. Placing them on the stand's legs enhances safety.
What are the typical width adjustments available for backdrop stands?
The width of backdrop stands is commonly adjustable through segmented crossbars. Many standard kits offer flexible widths, ranging from approximately 5 feet up to 10 feet or more, allowing photographers to accommodate various backdrop sizes for different shooting needs.
Do more expensive backdrop stands always offer better quality?
While quality often correlates with durability and stability, more expensive stands are not always universally better for every user. Heavy-duty or autopole systems are generally more robust and last longer, especially for regular use with heavy backdrops. However, a well-chosen budget-friendly stand can be effective for lightweight backdrops and occasional use.
Setting Up Your Backdrop Tripod Stand
Follow these steps to quickly and safely set up your backdrop tripod stand for photography or videography.
Begin by laying out all components from the carry bag on a clean, flat surface. This typically includes two upright stands, several crossbar sections, and any clamps or accessories. Organizing everything beforehand will streamline the assembly process.
Loosen the wingnut on the first upright stand's legs, push the legs out to create a wide, stable base, and raise the center column. Tighten the wingnut to secure the legs. Repeat this process for the second upright stand, ensuring both are set to a similar height for even support.
Assemble the crossbar by snapping or sliding its sections together, using alignment markers to ensure a secure lock. Unscrew the wingnuts on the metal rods at the top of each upright stand, align the assembled crossbar, lower it into place, and re-tighten the wingnuts to firmly secure it.
Slide backdrops with a rod pocket directly onto the crossbar. For backdrops without a pocket (e.g., vinyl, canvas), use clamps to attach them securely to the crossbar. Carefully raise the entire setup to your desired height, adjusting each side incrementally for evenness, and you're ready to shoot.
Get our weekly buyer guide
Practical specs, not advice. Unsubscribe anytime.
I’ve been using a makeshift setup for my home studio for ages, but finally decided to invest in a proper backdrop tripod stand after reading about them. The stability of the collapsible tripod legs is a game-changer. No more worrying about my fabric backdrops sagging or toppling over mid-shoot. It’s made such a difference in the professionalism of my photos.
This guide really helped me understand what to look for. I picked up a kit with the horizontal crossbar and it’s been solid for my vinyl backdrops. My only minor complaint is that the clamps that came with it feel a little flimsy. I might need to upgrade those soon, but the stand itself is great for the price.
I got one of these for my product photography, and while it does hold my paper backdrops, I found the setup a bit fiddly. The upright supports are sturdy enough, but connecting the crossbar took a bit more effort than I expected. It works, but I was hoping for something a little quicker to assemble for quick changes.
As a videographer, eliminating distracting backgrounds is crucial for my interviews. I used to struggle with getting a seamless look, but a good backdrop stand has solved that completely. The ability to quickly set up and break down in dynamic locations is a huge plus, especially when I’m on a tight schedule. Highly recommend for anyone serious about their visuals.