Ever found yourself standing at the edge of a breathtaking landscape, camera in hand, only to realize the ground beneath you is a treacherous mix of mud, loose gravel, and uneven terrain? That perfect “muddy horizon” shot, where the sky meets a dramatic, mucky foreground, often demands a tripod that can stand its ground, literally. As a veteran landscape photographer and gear specialist at SxJks.com, I’ve seen countless incredible photo opportunities lost to a wobbly tripod. But it doesn’t have to be that way. This guide is your trusted companion to choosing, using, and maintaining a tripod that thrives in the muck, ensuring your camera stays rock-solid for those breathtaking captures.
What Makes a Tripod Stand Ready for the Muddy Horizon?
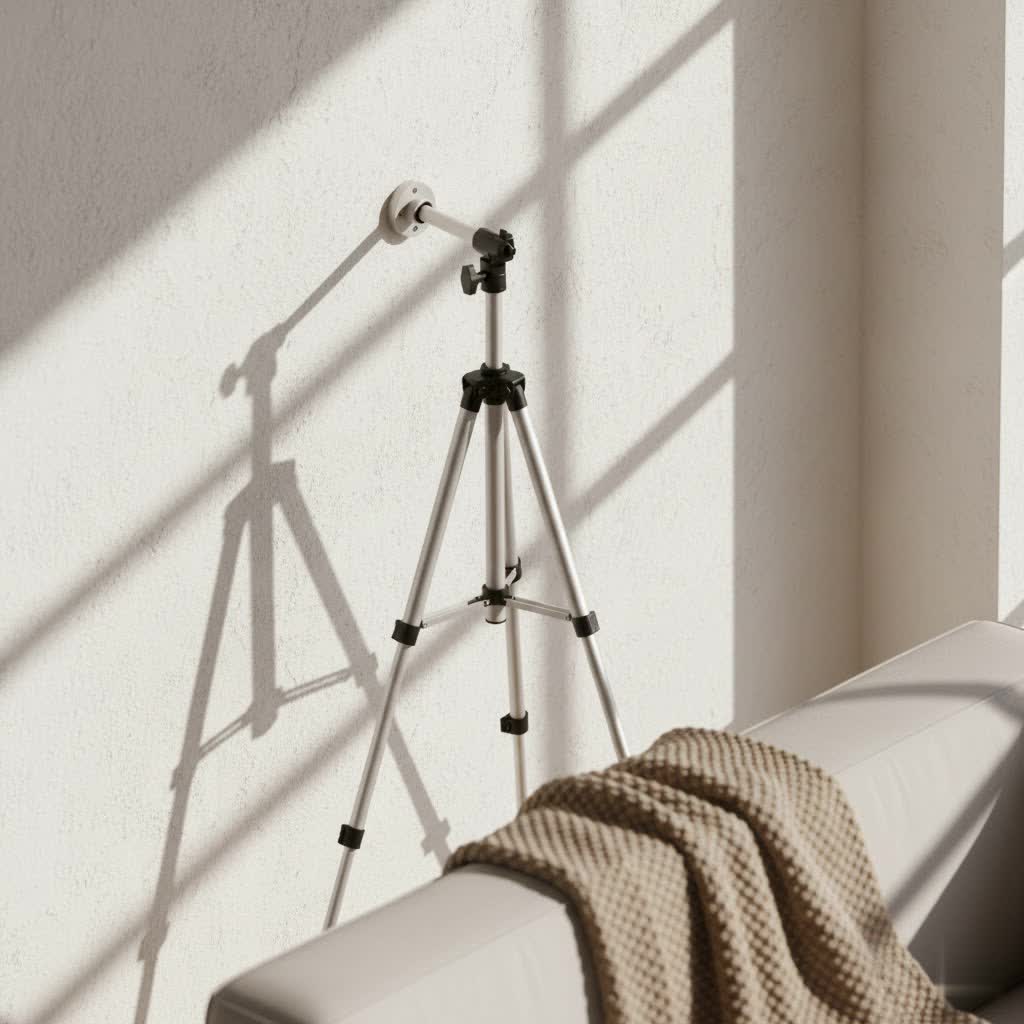
When the ground is less than ideal, your tripod’s fundamental design elements become paramount. It’s not just about holding your camera; it’s about anchoring it firmly against the elements.
Material Matters: Carbon Fiber vs. Aluminum
|
Our Picks for the Best Tripod Stand in 2026
As an Amazon Associate I earn from qualifying purchases.
|
||
| Num | Product | Action |
|---|---|---|
| 1 | Amazon Basics 50-inch Lightweight Portable Camera Tripod Stand with Quick-Release Plate, Adjustable Height, Aluminum, for Travel Photography, Champagne |

|
| 2 | Projector Stand Tripod Adjustable, Laptop Height from 23.5 to 46.5 inches with Gooseneck Phone Holder, Floor for Office, Home, Stage, Studio, DJ Racks Holder Mount, 23.5inch-46.5inch |
|
| 3 | TONEOF 68\" Magnetic Selfie Stick Tripod with Aluminum Strong Magnetic Holder for Magsafe, 360° Rotatable Travel Phone Tripod Stand with Metal Ring & Rechargeable Remote for iPhone/Android(Beige Gray) |
|
| 4 | SENSYNE 62\" Phone Tripod & Selfie Stick, Extendable Cell Phone Tripod Stand with Wireless Remote and Phone Holder, Compatible with iPhone Android Phone, Camera |
|
| 5 | IFOOTAGE RB-A400 Round Base Light Stand Monopod, 79\" Tripod Monopod for Cameras, Lights, Webcam, Live Streaming, Vlogging, Payload 22LBS |
|
| 6 | CAMBOFOTO 74\"-Camera-Tripod, Professional Aluminum Tripod/Leg Stand Mirrorless Camera/DSLR/Cell Phone/Camcorder/GoPro, with Phone Holder and Travel Bag (Gunmetal Gray) Weight 2.8 lbs Load 8.8 lbs |
|
| 7 | 64” Tripod for Cell Phone & Camera, Phone Tripod with Remote and Phone Holder, Sturdy & Stable Height Adjustable Multi-Angle Shot Selfie Stick Tripod for Video Recording |
|
| 8 | Laptop Tripod Stand – Adjustable Laptop Holder with Phone Mount - Heavy- Duty Alloy Tripod Stand with Tray - Height Adjustable 0.65–1.6m - Portable, Foldable, 15kg Load Capacity - Black |
|
| 9 | 71” Phone Tripod & Selfie Stick, Portable All in One Extendable Cell Phone Tripod Stand, with Wireless Remote Control for iPhone/Samsung/Android/Camera |
|
| 10 | EUCOS 62\" Phone Tripod, Tripod for iPhone & Selfie Stick with Remote, Extendable Cell Phone Stand & Ultimate Phone Holder, Solidest Phone Stand Compatible with iPhone/Android |
|
The choice between carbon fiber and aluminum isn’t just about weight; it’s about performance in tough conditions. Carbon fiber tripods are generally lighter, making them a dream for long hikes to remote locations. Beyond portability, carbon fiber excels at dampening vibrations, which is crucial for sharp images in windy conditions or when using long lenses. It also boasts superior corrosion resistance, especially vital if you frequently expose your gear to saltwater or humid environments. On the other hand, aluminum tripods are often more affordable and, due to their greater weight, can offer inherent stability, particularly beneficial when you’re not moving much and need a grounded feel. While aluminum can be prone to scratching and corrosion in humid environments if its protective layer is compromised, both materials offer a degree of weather resistance. For “muddy horizon” scenarios, the corrosion resistance and vibration dampening of carbon fiber often give it an edge.
Leg Locks: Twist Locks vs. Lever Locks
The mechanism that secures your tripod legs plays a significant role in both setup speed and long-term durability in challenging conditions.
- Twist Locks: These often offer a sleeker profile and are less likely to snag on vegetation. They generally seal tighter, which can be advantageous in preventing mud and grit from entering the leg sections. However, they can be harder to operate with cold, wet, or muddy hands.
- Lever Locks: Known for their speed and ease of use, even with gloves on. While modern designs have improved, older lever locks could sometimes be more susceptible to dirt ingress or accidental opening if not properly tensioned.
Regardless of the type, always ensure your leg locks are clean and functioning smoothly. After a muddy shoot, grit can get into the mechanisms, causing wear or hindering their ability to lock securely.
Feet First: Spiked, Rubber, and Snow/Mud Feet
This is where the rubber (or spike, or claw) meets the road – or rather, the mud. The type of feet your tripod uses dramatically impacts its grip and stability on various surfaces. Most tripods come with basic rubber feet, which are fine for smooth, indoor surfaces but often inadequate for outdoor, uneven, or soft terrain.
- Spiked Feet: These are your best friend on soft ground like dirt, grass, sand, or even ice and snow. They pierce the surface, providing a firm anchor for your tripod. The longer the spikes, the better they tend to perform in challenging conditions, especially when dealing with moving water or deep sand.
- Claw Feet: Often made of steel, these offer superior traction on rough, uneven, or rocky surfaces, digging in like a mountain goat’s hooves. They are also excellent for muddy terrain where they can cup the sand and provide more surface area for contact.
- Snow/Mud Pads (or “Snowshoes”): These wider, disc-like accessories prevent your tripod from sinking too deeply into soft ground, snow, or thick mud. They increase the surface area, distributing the tripod’s weight more effectively. Some can be screwed in, while others are external leveling pads that fit over existing spiked tips.
Many tripods feature interchangeable feet, allowing you to swap them based on the terrain. For a “muddy horizon” scenario, a combination of spikes, claws, or wide snow/mud pads will provide the best stability.
Center Column and Ball Head: Stability and Leveling
A good ball head allows for fluid camera movement and precise positioning, which is critical for framing horizons. Look for one that can securely hold your camera’s weight without sagging. The center column, while offering extra height, can also introduce instability when extended, especially in windy or uneven conditions. For maximum stability, it’s often best to keep the center column as low as possible or even inverted for low-angle shots.
“A rock-solid foundation starts from the ground up, but extends through every component,” advises Liam Maxwell, veteran landscape photographer and gear specialist at SxJks.com. “Choosing a robust ball head and minimizing center column extension significantly reduces micro-vibrations, giving you crisper images even when the wind howls over a muddy field.”
Master Your Terrain: Techniques for Tripod Stability on Uneven and Muddy Ground
Even with the best gear, knowing how to properly set up your tripod can make all the difference between a blurry mess and a masterpiece.
Spreading Your Legs: Wider Stance, Lower Center of Gravity
The wider you splay your tripod legs, the more stable your setup becomes. This creates a broader base and lowers the center of gravity, making your tripod much less susceptible to tipping or shifting, especially on slopes or soft ground. Aim for a stance that’s as wide as your composition allows, or even wider if you’re battling strong winds. Some tripods even allow for independent leg-angle stops, giving you greater flexibility on extremely uneven terrain.
The “Muddy Horizon” Stance: How to Plant Your Tripod Securely
When facing a muddy horizon, simply resting your tripod on the surface won’t cut it. You need to actively plant it. If using spiked feet, push each leg firmly into the mud or soft soil until you feel it settle. For very soft or deep mud, consider extending only the upper leg sections, keeping the lower, thinner sections (and their joints) out of the muck to prevent dirt ingress. If your tripod doesn’t have spikes, or the mud is too thick, wide snow/mud pads or even improvised solutions like CDs (on sandy beaches) can increase the surface area and prevent sinking.
Counterweights and External Support
Adding weight to your tripod is a time-tested method for increasing stability. Many tripods come with a hook on the center column where you can hang your camera bag. However, simply hanging a bag can create a pendulum effect in windy conditions, introducing sway. A better approach, especially with heavy loads, is to let the weight rest on the ground, creating tension to pull the tripod down without swinging. You can use a reusable grocery bag filled with local rocks, sand, or dirt. Alternatively, tie individual bags to each leg, or use tent pegs and bungee cords to anchor the tripod to the ground. Nature itself can be your ally; use large rocks, logs, or tree roots as additional supports or barriers against movement.
Leveling Up: Achieving a Perfect Horizon Line
A perfectly level horizon is paramount for landscape photography. Many tripods and camera heads come with built-in bubble levels to aid in this. Additionally, many modern cameras have in-camera electronic levels that can be displayed on the LCD or in the viewfinder, providing real-time feedback. On extremely uneven ground, adjust each leg independently to get the base as level as possible before fine-tuning with your ball head.
Beyond the Shot: Maintaining Your Tripod After a Muddy Adventure
The adventure doesn’t end when you get the shot; proper maintenance ensures your “muddy horizon” tripod is ready for the next one. Mud, sand, and saltwater are notorious for causing damage, corrosion, and stiffening leg mechanisms.
Immediate Post-Shoot Care: Don’t Let the Mud Dry!
The golden rule for muddy gear: don’t let it dry. As soon as possible after your shoot, rinse your tripod with fresh water. This is especially crucial if you’ve been in saltwater, as salt is highly corrosive. A quick shower-down with fresh water, extending each leg to ensure water gets into the joints, is a great start. Don’t just air dry; wipe your tripod thoroughly with a microfiber cloth to prevent water spots and ensure all moisture is removed.
Deep Cleaning and Lubrication
Regular deep cleaning, particularly if you frequently shoot in harsh environments, is essential. This often involves disassembling the leg sections. Many tripods allow for this, but consult your manual or take photos during disassembly to remember how to put it back together.
- Disassemble: Loosen leg locks and carefully remove each leg section. Keep track of all small parts like bushings and washers.
- Clean: Use warm, soapy water and a soft brush (an old toothbrush is excellent for threads and tight spots) to scrub away all mud, sand, and grime from each part, especially leg locks and threads.
- Rinse and Dry: Rinse all parts thoroughly with fresh water and wipe them completely dry. Ensure no moisture remains, particularly inside the leg tubes.
- Lubricate: Once dry, apply a silicone-based lubricant or a thin layer of tripod grease to the moving parts and threads. This ensures smooth operation and prevents stiffness. Wipe off any excess.
- Reassemble: Carefully put all the parts back together.
If your tripod cannot be fully disassembled, flush each joint with soapy water, extending and retracting the legs under water to loosen grit, then rinse and dry thoroughly.
Storage Tips: Keeping Your Tripod Ready for the Next Horizon
Store your tripod folded and retracted in its bag to protect it from dust and accidental damage. Ensure it’s completely dry before storing to prevent mildew or corrosion. Regular inspection of leg locks and feet will catch minor issues before they become major problems.
Expert Insights for Navigating Challenging Landscapes
“The biggest mistake I see photographers make in muddy or uneven terrain is underestimating the importance of their tripod’s feet,” says Liam Maxwell. “Rubber feet are a liability when you need grip. Always carry interchangeable spikes or claws, and don’t be afraid to really dig them in. Your sharpest landscape shots will thank you for it.”
Frequently Asked Questions
What type of tripod feet are best for muddy ground?
For muddy ground, spiked feet or claw feet are generally best as they can penetrate the soft surface and provide a firm anchor. Wide snow/mud pads can also be very effective at preventing your tripod from sinking too deeply.
Can I use a carbon fiber tripod in wet and muddy conditions?
Absolutely. Carbon fiber is highly weather-resistant and excellent at resisting corrosion, even in saltwater, making it a great choice for wet and muddy environments. It also absorbs vibrations better than aluminum.
How do I prevent my tripod from sinking into mud?
Use spiked feet or claw feet to dig into the ground. Additionally, employing wide snow/mud pads can significantly increase the surface area, preventing the legs from sinking too far. Spreading the legs wide also helps distribute weight.
What’s the best way to clean mud off my tripod?
Immediately after use, rinse your tripod thoroughly with fresh water, especially if it’s been in saltwater. Wipe it dry completely with a microfiber cloth. For deep cleaning, disassemble the leg sections, wash them with warm, soapy water, rinse, dry, and then lubricate before reassembly.
Should I buy a waterproof tripod?
While no tripod is truly “waterproof” in the sense of being submersible without eventual maintenance, carbon fiber tripods offer excellent resistance to water and corrosion. Focus on features that prevent water and grit from entering leg sections and commit to thorough cleaning after wet shoots.
How do I level my camera on very uneven terrain with a tripod?
Start by adjusting the length and angle of each individual tripod leg to get the tripod base as close to level as possible. Utilize your tripod’s built-in bubble levels or your camera’s electronic level for precise adjustments, and then fine-tune with your ball head.
Conclusion
Capturing that stunning “muddy horizon” shot demands more than just a keen eye; it requires a tripod setup that’s ready for anything. By understanding the critical role of materials, leg locks, and especially the right tripod feet, you can empower your photography to push boundaries. Remember to practice proper setup techniques for maximum stability and, crucially, to maintain your gear meticulously after every adventure. With the right “Muddy Horizon Tripod Stand” and these expert tips, you’ll confidently tackle any terrain, bringing home those sharp, unforgettable images you envisioned. So go ahead, embrace the challenge, and let SxJks.com be your guide to a world of steady shots!